IT | ACTIVE DIRECTORY
Connecting Windows Active Directory to Azure Active Directory

Introduction
Welcome, friends! In today’s rapidly evolving digital landscape, having a robust identity and access management solution in place is more important than ever. That’s where Azure Active Directory (Azure AD) comes in as a cloud-based service that empowers organizations to manage user identities and access resources in the cloud. But what if you’re already using traditional on-premises Active Directory (AD)? Fear not, because, in this post, we’re going to dive into the exciting world of connecting traditional AD to Azure AD!
Last time, we talked about deploying AD in Azure and how it can help manage on-premises identities in the cloud. But what about existing on-premises AD infrastructures? Well, with Azure AD, you can seamlessly integrate the two, taking advantage of the benefits of cloud-based identity management while still leveraging your existing infrastructure.
So, whether you’re a seasoned Azure AD pro or just getting started, this post will guide you through the process of connecting your traditional AD to Azure AD. By following these steps, you’ll be able to manage your identities in the cloud like a pro, with all the excitement and coolness that comes with it!
Log in to Azure AD and Create a User with Global Administrative Permissions

The first step in connecting your traditional AD to Azure AD is to log in to the Azure portal and create a new user with global administrative permissions. This user will be used to configure the connection between the two AD environments.
To create a new user, follow these steps:
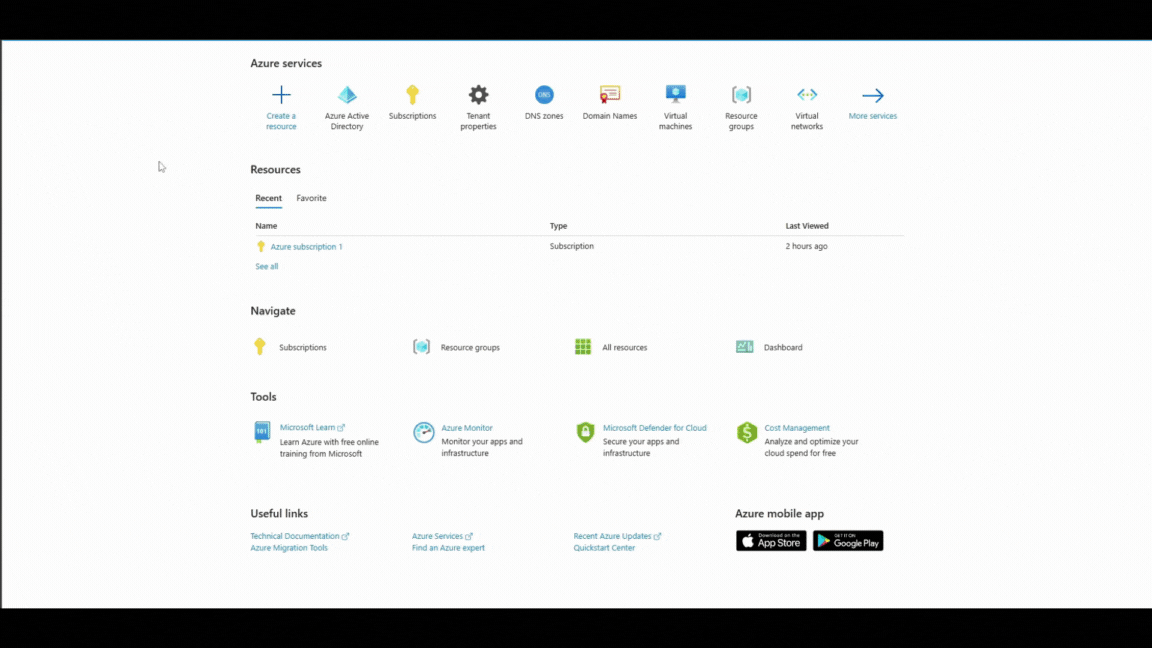
- Log in to the Azure portal using your Azure AD credentials.
- In the left-hand menu, click on “Azure Active Directory”.
- Under “Manage”, click on “Users”.
- Click on the “New user” button.
- Fill in the required information for the new user, including their name, user name, and password. Make sure to select “Global administrator” as the user’s role.
- Click on “Create” to create the new user.
Once the user has been created, you can use their credentials to configure the connection between your traditional AD and Azure AD using the Azure AD Connect tool.
It’s important to note that the user you create for this purpose should have a strong and unique password to ensure the security of your Azure AD environment. Additionally, this user should be kept confidential and only used for administrative purposes related to your Azure AD deployment.
Install and Configure Azure AD Connect on DC01

In the previous step, we created a user with global administrative permissions for Azure AD. Now, we need to install and configure Azure AD Connect on one of the servers in our traditional AD environment, which in our case is DC01.
To get started, follow these steps:
- Turn on both DC01 and DC02 servers.
- Log in to DC01 using Remote Desktop Protocol (RDP).
- Open your preferred web browser (we recommend using Microsoft Edge) and navigate to the Azure AD Connect download page: https://www.microsoft.com/en-us/download/details.aspx?id=47594
- Download the latest version of Azure AD Connect and save it to a location on your local drive.
- Run the Azure AD Connect installation wizard by double-clicking the downloaded file.
- In the initial installation wizard screen, click “Next” to continue.
- Review and accept the license terms, then click “Next”.
- In the “User Sign-In” screen, enter the email address of the global administrator that we created in Step 1, then click “Next”.
- In the “Connect to AD DS” screen, enter the enterprise administrator-level credentials for your traditional AD environment, then click “Next”.
- In the “Azure AD Sign-In” screen, enter the credentials for the global administrator that we created in Step 1, then click “Next”.
- In the “Optional Features” screen, select any additional features that you want to install with Azure AD Connect, then click “Next”.
- In the “Ready to Configure” screen, review the configuration summary and click “Install” to begin the installation process.
- Wait for the installation to complete. This may take several minutes depending on the speed of your server and network connection.
It’s important to note that during the installation process, you may encounter error messages related to Internet Explorer. To avoid these errors, we recommend making Microsoft Edge your default browser before starting the installation process.
Once the installation is complete, Azure AD Connect will synchronize your on-premises AD identities with Azure AD. This will allow you to manage your on-premises identities in the cloud, giving you the best of both worlds.
Install and Configure Azure AD Connect on DC02
Now that you have installed and configured Azure AD Connect on DC01, it’s time to do the same on DC02 to ensure high availability and redundancy in case of any issues.
To install and configure Azure AD Connect on DC02, follow these steps:
- Log in to DC02 using RDP.
- Navigate to the Azure AD Connect download page as you did in Step 2.
- Download the Azure AD Connect software.
- Launch the Azure AD Connect installer by double-clicking on the downloaded file.
- Follow the same steps as you did in Step 2 to install Azure AD Connect, including providing the email address of the global administrator you created in Step 1 and the credentials of an account with Enterprise Admin level authority.
- Once the installation is complete, double-click on the Azure AD Connect on the desktop icon to set up the configuration.
- On the “Welcome to Azure AD Connect” page, click on “Next”.
- Enter the credentials for the Azure user with the global administrative permissions you created in Step 1, and click on “Next”.
- Leave the default settings under “Connect your directories”, select the “Sync all domains and OUs” option, and click on “Next”.
- Keep the default settings on the “Optional Features” page, and click on “Next”.
- On the “Ready to configure” page, click on “Install” to begin the configuration process.
- Wait for the configuration to complete.
By installing and configuring Azure AD Connect on both DC01 and DC02, you are ensuring high availability and redundancy in case of any issues with either server. With Azure AD Connect set up, your on-premises AD identities will be synchronized with Azure AD, giving you a single sign-on experience for your users across both environments.
Verify Connectivity and Make Changes as Needed
Now that you have installed and configured Azure AD Connect on both DC01 and DC02, it’s time to verify that the synchronization is working as expected.
To verify connectivity, follow these steps:
- Log in to the Azure portal and navigate to the “Users” page.
- You should see the users you created in your on-premises AD listed in Azure AD. If you don’t see the users, give it some time to synchronize or check the Azure AD Connect logs for any errors.
- If you want to make any changes to the configuration, you can use the Azure AD Connect tool to do so. Simply open the tool and make the necessary changes. The changes will be synced to Azure AD automatically.
By verifying connectivity and making changes as needed, you can ensure that your on-premises AD identities are synchronized with Azure AD and that your users have a seamless experience across both environments.
Congratulations! You have successfully connected your on-premises AD to Azure AD using Azure AD Connect. This will enable you to take advantage of a range of Azure AD features, including single sign-on, multi-factor authentication, conditional access, and more.
Collusion
In conclusion, connecting your on-premises Windows Active Directory to Azure AD through Azure AD Connect can greatly simplify identity management and improve security. By following the steps outlined in this blog post, including creating a global admin, downloading and installing Azure AD Connect, and configuring it on both DC01 and DC02 servers, you can seamlessly synchronize your user accounts and passwords to Azure AD. Once you have verified the connection by checking in Azure AD, you can rest assured that your organization’s identity management is in good hands.